Written By Darren Tremmel
AKA Fishin' Dude
The water pump on your outboard provides the raw water necessary to cool your motor and keep it from overheating and possibility causing major, sometimes catastrophic, damage to the motor. If it fails you on the water, the only option is a tow back to the dock and costly repairs. To help prevent this from happening, it is recommended that the water pump be rebuilt every 2 seasons, or every season if you are the type who runs into shallow water and sucks sand and sediment into the motor several times a year.
This motor, a 2003 F200TXRB, came on the boat I purchased last year and used for 1 season. Not knowing when the last water pump service was done, I decided to do it now, and get on an every 2 season schedule.
Replacement of the water pump parts on this motor is fairly simple, and can be preformed by virtually anyone who wants to spend an hour working on the job, rather then waiting days or weeks for the marina to finish the job and charge you hundreds of hard-earned dollars.
After reading this article, you will be able replace the water pump parts using a few basic hand tools.
First of course, you will need the water pump repair kit. I ordered Yamaha # 61A-W0078-A3 on-line for $53 and this contains all the parts you need to do the rebuild. Also pick up a tube of marine grade anti-seize thread lubricant. Starbrite makes one and it can be purchased at West Marine and other marine supply locations. For those of you not familiar with anti-seize lubricant, what it does is prevents sticking and seizing of bolts due to corrosion and heat, and makes future disassemble easier. I used this on all of the bolts.
And now on to the repair.
1. Fully raise the motor, then pull the tilt support lever and lower the motor onto the support.

2. Remove the prop using standard prop removal routine.

3. Note the position of the trim tab, or take a photograph to remember the position for re-installation.

4. Remove the rubber cap to allow access to the trim tab bolt and remove the bolt while holding the trim tab to keep it from falling.

5. Remove the 2 bolts from under the lower unit.

6. Remove the 3 bolts on each side of the lower unit.
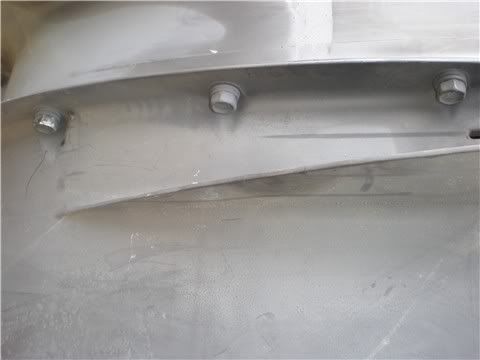
7. Remove the lower unit from the motor. You might have to wiggle it slightly up and down while pulling it out. Pull it straight out until the driveshaft comes completely out and clear of the motor.
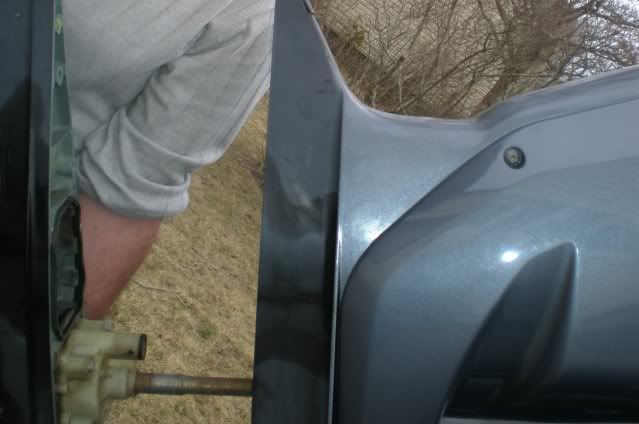
8. I placed the lower unit in my B&D Workmate, but you can support it on a workbench with wood blocks or books, milk crates, or whatever works for you.
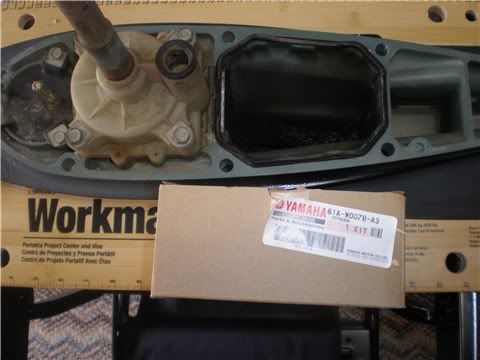
9. Remove the 4 bolts attaching the water pump housing and remove the housing straight up and off the driveshaft. Clean the housing and save for re-installation.
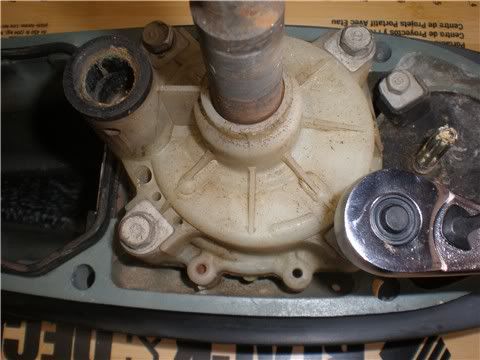
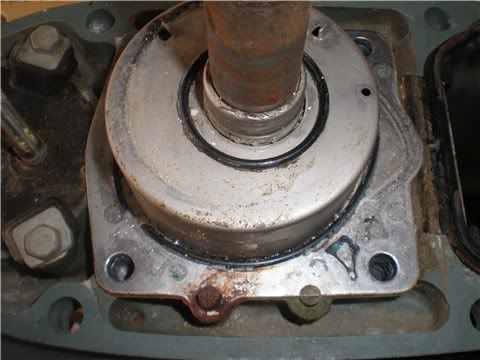
10. Remove the old "O" rings. Notice in the photo the bottom one was split, which must have caused a slight leak which would explain the rust on the pin on that side.
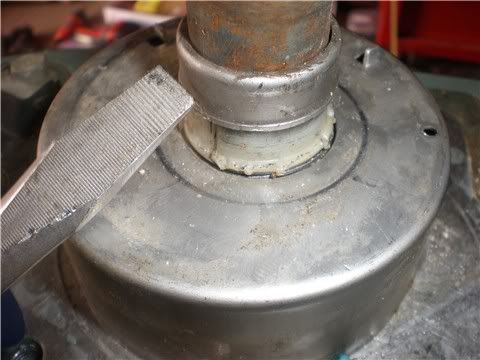
11. Remove the metal cover over the white compression ring carefully with a screwdriver. Remove both the metal ring and plastic compression ring from the driveshaft, clean and save for re-installation.
12. Note the position of the opening of the impeller housing,about a 4 o'clock position and remove the impeller housing, then remove the 3 washers. Clean and save the washers for re-installation.
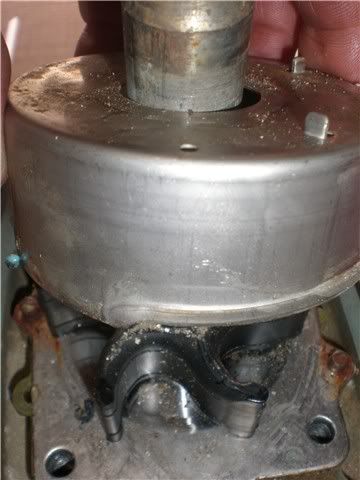
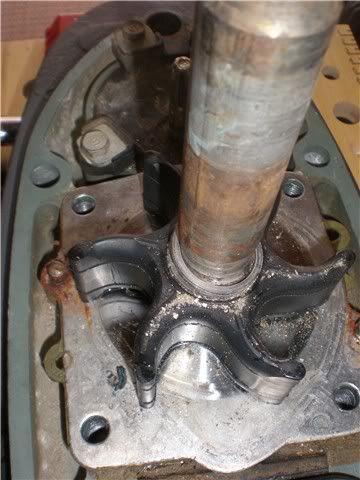
(Notice the sand and debris on the impeller, I'm glad I decided to do the job)
13. Remove the impeller from the driveshaft, then, using a pointed punch inserted in the gap at the top of the woodruff key and driveshaft, tap with a hammer and remove the woodruff key.
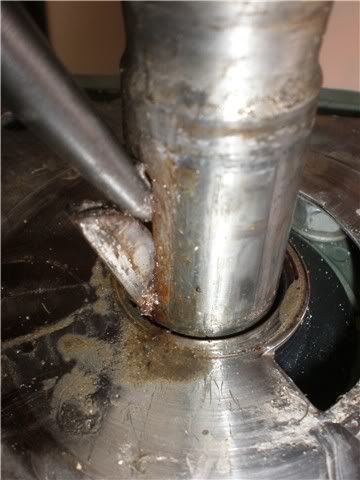
14. Remove the bottom plate.
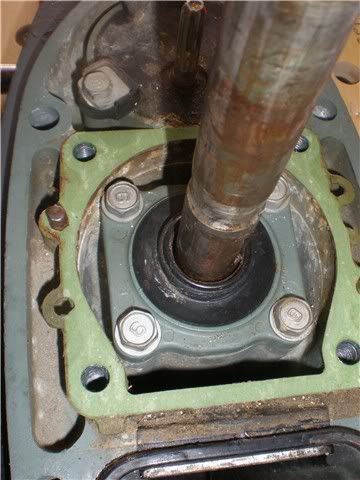
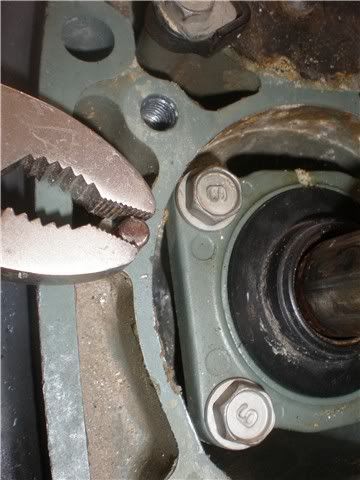
15. Remove the Gasket and 2 old pins.
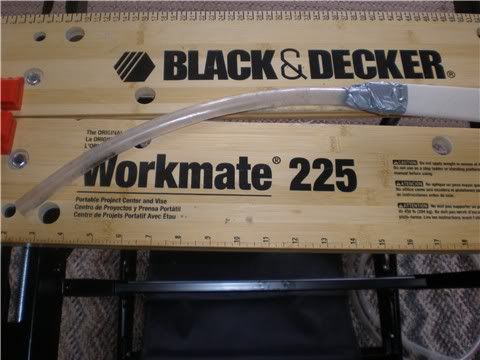
16. Clean the area. It can be cleaned with air, or if you do not have a compressor you can use your wife's vaccuum cleaner with a tube duct taped to the end to suck any debris from the lower unit. Don't worry, if she gets mad just blame it on me.
17. Install new pins, then new gasket.
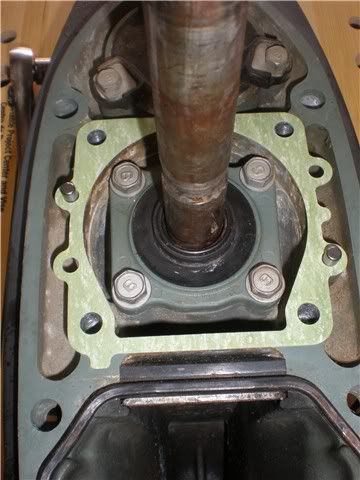
18. Install new bottom plate.
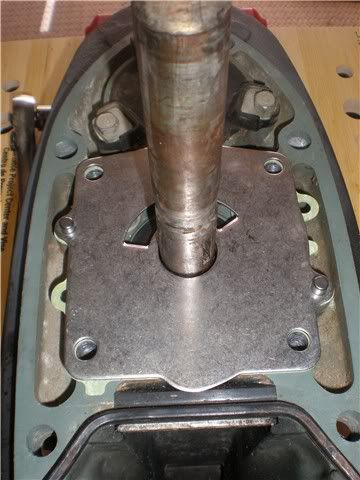
19. Install new woodruff key. I used a brass drift punch, tapping it with a hammer. You can use just the hammer but I found it easy to strike with the aid if the drift punch held against the key.
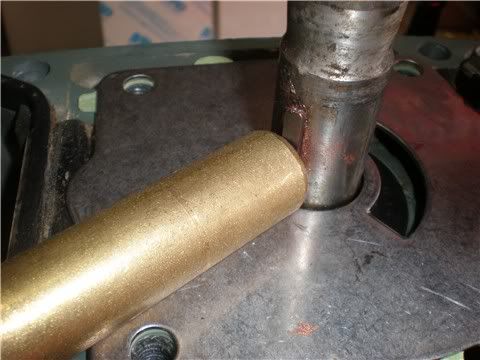
20. Install the new impeller, dots up, dashes down, on the driveshaft, being carefull to line up the slot in the impeller with the woodruff key. Then re-install the 3 washers saved from step 12.
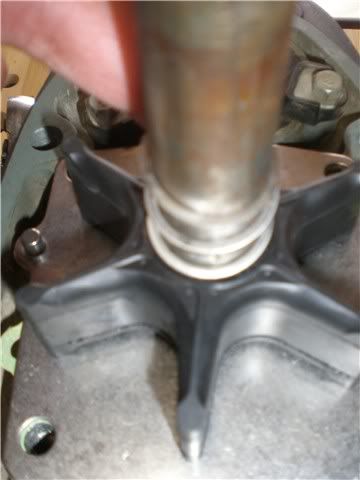
21. Apply a very light coat of Yamaha Marine grease to the inside of the new impeller housing to make installation over the new impeller easier. Bend the all of impeller fins in the same direction to get them inside the housing, turning the driveshaft in a clockwise rotation will help . The torque from the motor will insure that they are facing the right direction to pump when you start the motor for the frist time, Make sure the opening is in the same 4 o'clock position as in step 12.
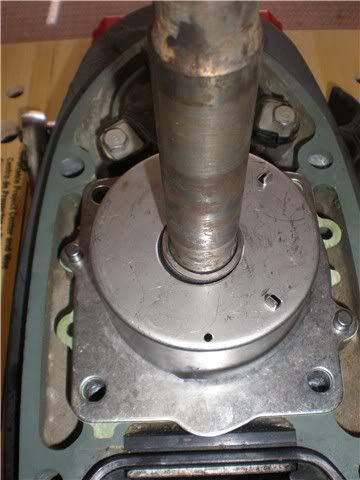
22. Re-install the white plastic compression ring, then re-install the metal cap by pressing it down using the old metal bottom plate.
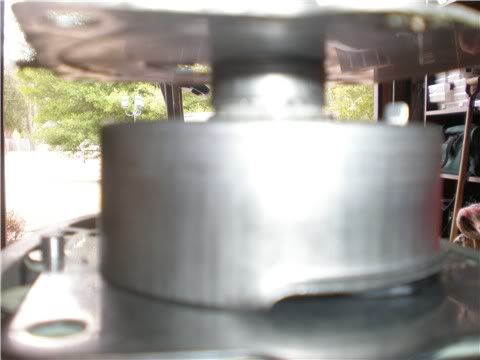
23. Install new "O" rings onto the water pump housing using a Yamaha Marine grease to hold them in place.
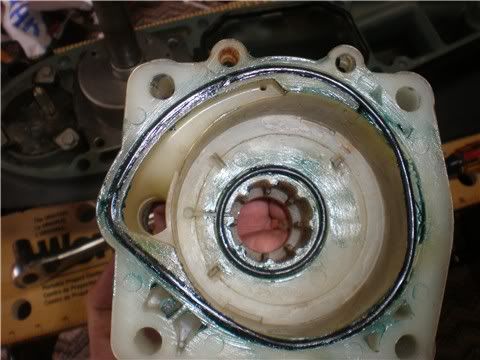
24. Re-install the water pump housing. you might have to move it slightly right or left for the small holes inside the waterpump housing to line up the tabs on the top of the impeller for it to sit flush all the way down.
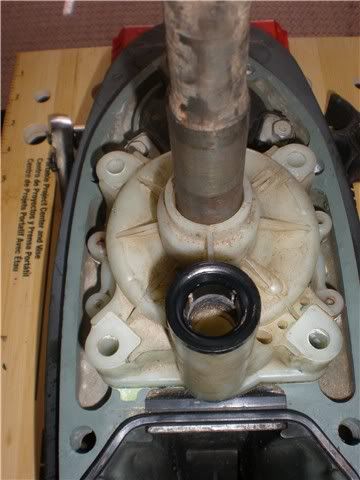
25. Install new water pump housing bolts.
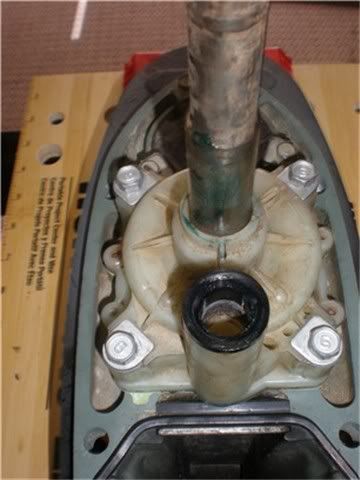
26. Apply a coating of grease to the splines of the driveshaft, watertube fitting, speedometer tube, and lower shift shaft.
27. Carefully insert the driveshaft back into the motor and push the lower unit slowly back onto the motor, making sure the water tube lines up with the fitting. If the lower unit does not go in all the way, back it out an few inches and rotate the driveshaft a little by hand and try again, you just have to get the splines aligned. when it is almost all the way in, you might have to rotate the lower unit slightly right or left to get the shift shaft into the shift tube, but only move it very slightly as to not throw off the shift position. Now turn the propeller shaft in both directions to make sure it spins freely and makes no noise. Great you have the shift shaft properly lined up in neutral. Now re-install the 8 bolts attaching the lower unit to the motor and torque to 35 ft.-lbs.
28. Lower motor from the tilt support lever and run with a proper garden hose flushing attachment connected to the cooling water inlets. Check for proper operation (water exiting the "P" hole). If no flow is seen, remove the lower unit and check for loose water tube or fitting. If they are OK, disassemble the water pump and recheck for proper assembly.
29. Re-install the trim tab, lined up to the same marks as step 3, and put the rubber cover back over the bolt access hole.
30. Re-install prop, washer, nut and a new pin.
Congratulations, you have done it!
<'((((><
